If you’ve ever wondered how to turn everyday moments into cinematic, personal photos — this practical guide walks you through the gear, exposure, composition, lighting, and editing tips that actually help. No fluff, just do-able steps.
Why Personal Photography Matters
Personal photography isn’t about owning the most expensive kit. It’s about telling your story in pictures — capturing moods, details, and small moments that feel honest and memorable. With a few techniques and the right mindset, your photos will stop being snapshots and start being stories.
Choosing the Right Camera
Sensor Size & Image Quality
Sensor size affects dynamic range and low-light capability. Full-frame sensors generally perform best in low-light and create shallower depth of field. APS-C and Micro Four Thirds are lighter and more affordable while still producing excellent results.
Mirrorless vs DSLR — what’s best for you
Mirrorless cameras are compact, often faster in autofocus, and provide exposure previews through electronic viewfinders. DSLRs remain reliable and have mature lens ecosystems. For most personal photographers, mirrorless offers the best balance today.
Budget & Entry-Level Recommendations
Pick a camera that feels comfortable in your hands and has at least one lens you love. A simple kit with one prime and one versatile zoom will cover most needs.
Lenses That Transform Your Personal Photography
Prime vs Zoom: pros and cons
Primes usually deliver sharper images and wider apertures for low light and bokeh. Zooms give flexibility in the field. Own one reliable prime (35mm or 50mm) and one versatile zoom (24–70mm or equivalent).
Focal lengths for portraits, landscapes, street
- Portraits: 50mm–135mm (full frame)
- Landscapes: 16mm–35mm
- Street: 28mm–50mm for a natural perspective
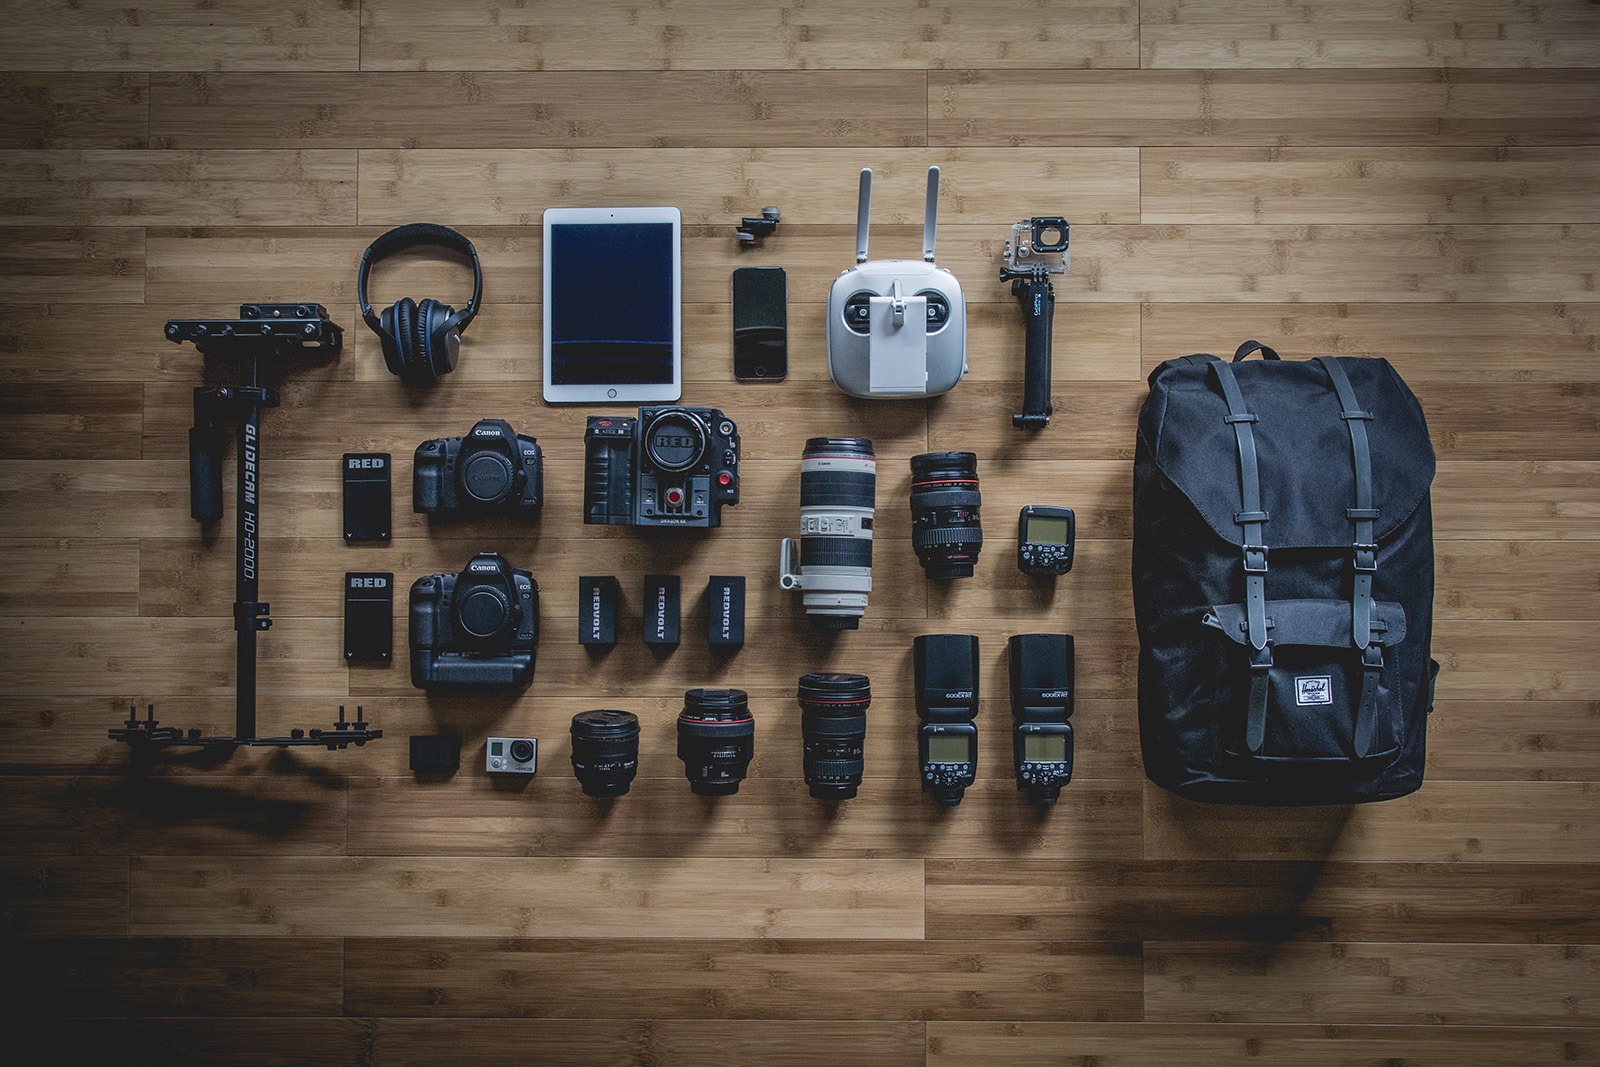
Essential Accessories
- Tripod: For long exposures and stable framing.
- Filters: Polarizers and ND filters expand creative options.
- Extra batteries & memory cards: Shoot longer without interruptions.
- Comfortable bag & strap: Keep gear accessible on the go.
Mastering Exposure
Exposure is where intention meets light. Learn the three pillars — aperture, shutter speed, and ISO — and decide which one will express what you want in each shot.
Aperture (depth of field)
Wide apertures (small f-number) isolate subjects with shallow depth of field. Narrow apertures (large f-number) keep more of the scene in focus.
Shutter speed (freezing vs motion blur)
Fast shutter speeds freeze action; slow speeds capture motion as blur. For waterfalls and light trails, use long exposures with a tripod.
ISO (noise control)
Use the lowest practical ISO for cleaner images; modern cameras allow higher ISO settings with usable results, but balance this with aperture and shutter needs.
Putting the exposure triangle into practice
Ask: what is most important in this frame — motion, background separation, or low noise? Then prioritize shutter, aperture, or ISO accordingly.
Composition Techniques
Rule of thirds & framing
Place important elements along grid lines for pleasing balance. Use natural frames (windows, branches) to direct focus.
Leading lines, patterns, and symmetry
Leading lines guide the eye, patterns create rhythm, and symmetry can be powerful when used intentionally.
Negative space and minimalism
Use empty space to emphasize subject and mood — often, less really is more.
Lighting Essentials
Natural light: golden hour & blue hour
Golden hour (shortly after sunrise and before sunset) gives warm, flattering tones. Blue hour (twilight) is excellent for moody cityscapes and long exposures.
Using reflectors and diffusers
Reflectors fill shadow on faces; diffusers soften harsh sunlight — both affordable and effective tools.
Basic on-camera flash tips
Bounce or diffuse flash to avoid flat lighting. Start with TTL auto and tweak exposure compensation to taste.
Focusing & Sharpness
AF modes and back-button focus
Use single AF for stills and continuous AF for moving subjects. Back-button focus separates focus from shutter for better control.
Manual focus and focus peaking
Manual focus is essential for macro and low-light situations. Focus peaking highlights in-focus areas for precision.
Creative Techniques & Effects
Long exposure, panning, bokeh
Experiment with long exposures for smooth water and light trails, panning for motion blur backgrounds, and wide apertures for pleasing bokeh.
In-camera multiple exposure & intentional motion blur
Multiple exposures and intentional blur open doors to surreal and energetic images — great for experimentation.
Shooting Across Genres
Portraits
Focus on expression, use shallow depth of field, and minimize background distractions.
Street
Be discreet, anticipate moments, and favor 35mm–50mm lenses for a natural field of view.
Landscape
Use a tripod, narrow aperture, and include foreground interest to create depth.
Macro
Use a macro lens or extension tubes, stable support, and careful lighting to reveal tiny details.
Workflow: RAW, Editing, and Color
RAW vs JPEG
RAW retains more detail and latitude for edits; JPEG is convenient but limiting. Use RAW for serious work.
Basic editing workflow (crop, exposure, color)
Start with crop and straighten, then exposure, white balance, contrast, and color adjustments. Keep edits consistent to develop style.
Export settings for web and print
Export web images at 72–150 ppi with moderate compression. For print, export at 300 ppi and use appropriate color profiles.
File Management and Backup
Use clear folder structures, consistent filenames, and a 2-2-1 backup strategy: two local copies, two on different drives, and one offsite (cloud or physical).
Finding & Developing Your Personal Photography Style
Build a mood board, study photographers you admire, and shoot the same subjects frequently. Style emerges through repetition and editing choices.
Quick On-the-Go Tips
- Clean your lens before important shots.
- Use burst mode for unpredictable action.
- Simplify settings when exploring — Aperture Priority is a great learning mode.
- Shoot with intention: decide what feeling you want to convey.
Conclusion
Personal photography blends gear, technique, and curiosity. You don’t need the newest camera — you need practice, attention to light and composition, and a consistent editing approach. Start simple, shoot often, and let your style evolve.
-
CameraTale — practical guides, gear reviews, and quick tutorials for photographers who want beautiful, personal images.
-
Visit cameratale.com for free cheat-sheets and starter presets to speed your editing workflow.
FAQs
- What’s the single most important thing to improve my personal photography quickly?
- Learn to see light. Practice shooting at different times of day and notice how light direction and quality change mood and detail.
- Do I need a full-frame camera to take stunning personal photos?
- No. Full-frame helps, but lenses, composition, and light matter more for most personal photography.
- Should I shoot RAW or JPEG as a beginner?
- Shoot RAW when possible — it gives far more flexibility in post-processing. Use RAW+JPEG if you need quick previews and backups.
- How can I make portraits look more natural and engaging?
- Interact with your subject, use prompts to elicit expressions, and use soft, flattering light plus shallow depth of field to isolate them.
- What editing adjustments are essential for personal photography?
- Crop/straighten, exposure, white balance, contrast, and subtle sharpening/noise reduction. Maintain consistency to build style.


