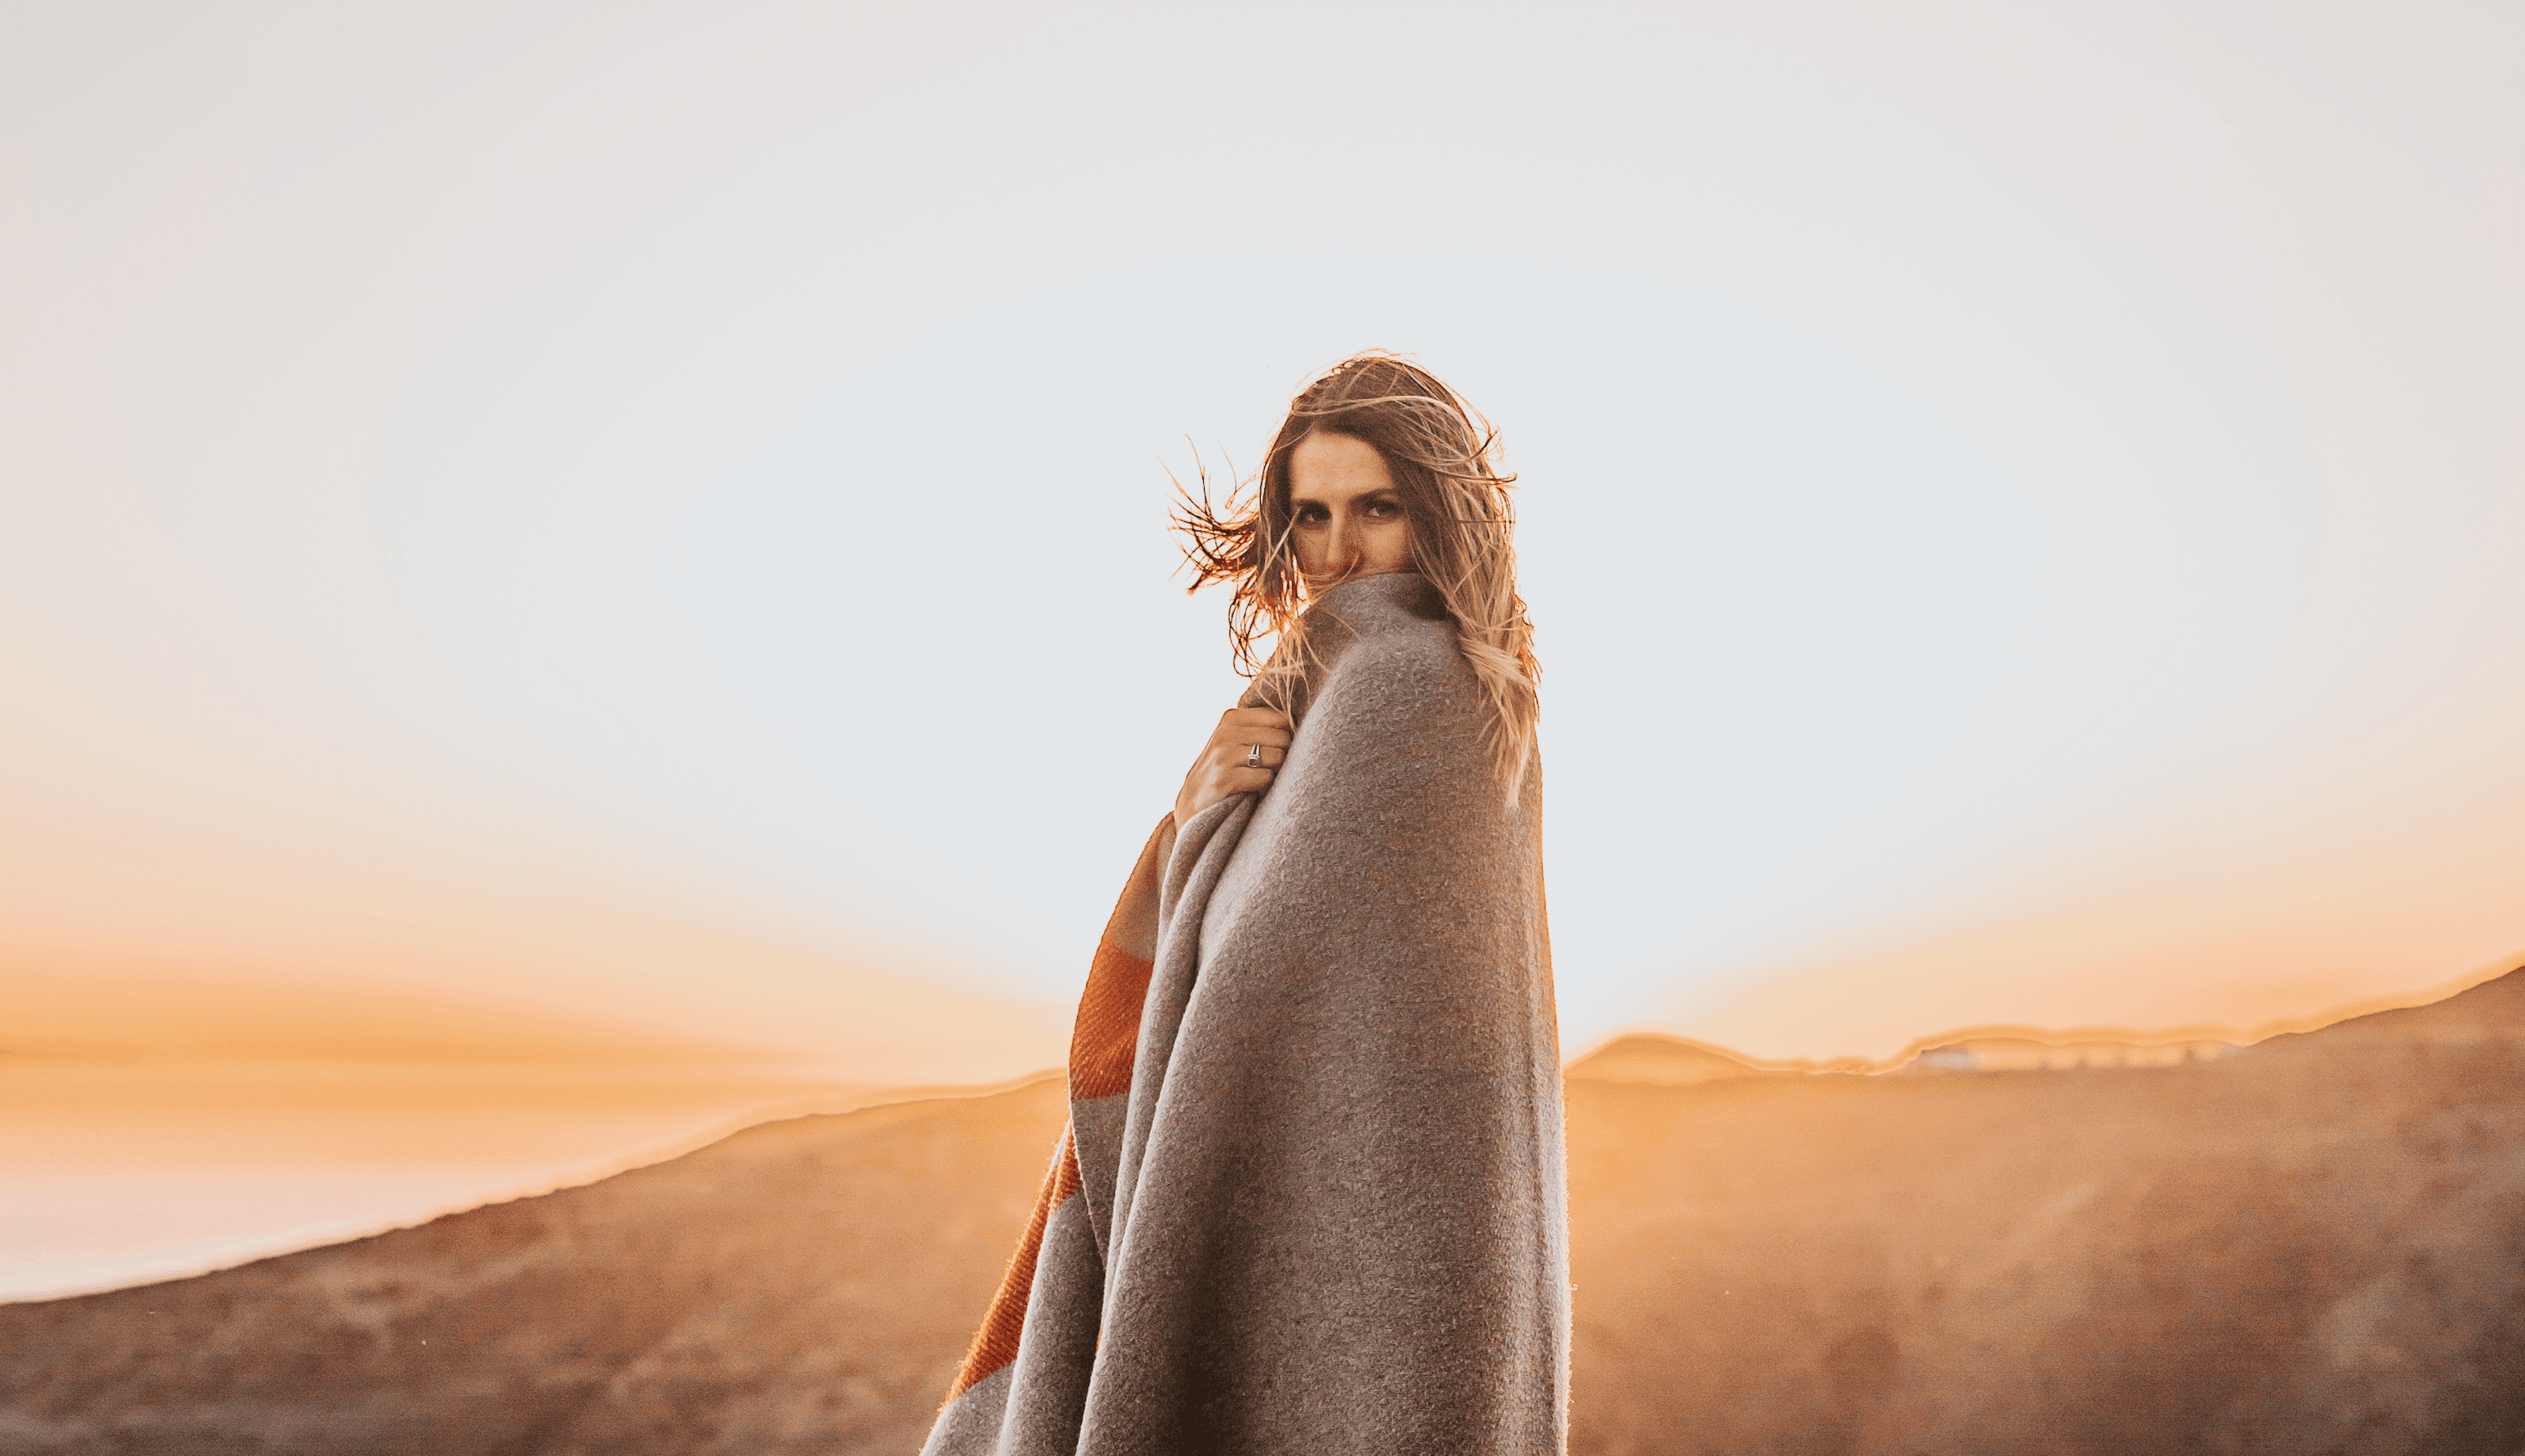
What Is General Photography?
General Photography covers the everyday subjects most people shoot—family, friends, pets, travel, food, streets, sunsets, and the random “whoa” moments. Think of it as your foundation: once you grasp exposure, focus, light, and composition here, you can branch into any niche. The mindset is playful and curious. You’re not just taking pictures; you’re collecting little stories.
Gear Basics You Actually Need
You can start with anything you own. If you’re shopping, prioritize usability over specs.
Cameras: DSLR vs Mirrorless vs Phone
- DSLR: Affordable used market, solid battery life, great optical viewfinders.
- Mirrorless: Lighter, silent shooting, advanced autofocus, live exposure preview.
- Phone: Always with you, smart computational tricks, great for learning composition.
Upgrade path: Start with what you have; upgrade only when your current gear limits your vision (not your ego!).
Lenses 101: Prime vs Zoom
- Primes (e.g., 35mm, 50mm): Sharp, bright (wide apertures like f/1.8), great for low light and portraits.
- Zooms (e.g., 24–70mm, 18–55mm): Versatile for travel and family events.
Cheat-sheet: 24–35mm = scenes & groups; 50mm = natural perspective; 85mm+ = portraits; 200mm+ = distant subjects.
Accessories That Punch Above Their Weight
- Tripod for low light and long exposures.
- Spare battery & fast memory card.
- Comfortable strap or wrist sling.
- Lens cloth & blower for clear glass.
Camera Settings 101: The Exposure Triangle
Exposure is a three-way seesaw: aperture, shutter speed, and ISO. Change one and you’ll likely adjust another to keep brightness in check. Mastering this unlocks creative control.
Aperture (f-number): The Window Size
- Wide (f/1.8–f/2.8): More light, blurrier background → portraits and food.
- Narrow (f/8–f/16): More in focus → landscapes and architecture.
Tip: For group photos, pick f/4–f/5.6 to keep all faces sharp.
Shutter Speed: Freeze or Blur Motion
- Fast (1/500s+): Freeze kids, pets, sports.
- Slow (1/10s–1s+): Creative motion blur—waterfalls, light trails.
Rule of thumb: Minimum shutter ≈ 1/(focal length).
ISO: Your Sensor’s “Volume Knob”
- Low ISO (100–200): Clean, low noise for bright scenes.
- High ISO (1600+): Brighter but grainier—fine for events/night.
Pro move: Use Auto ISO with a cap (e.g., 3200) and lock your minimum shutter.
Metering & Histogram
Your camera’s meter aims for “middle gray,” which can trick you in snow or at the beach. Check the histogram: avoid clipping on the left (shadows) and right (highlights).
Focusing & Depth of Field
- AF-S/One-Shot: Stationary subjects.
- AF-C/AI-Servo: Moving people or pets.
- Back-button focus: More consistent results.
- Portrait tip: Always focus on the nearest eye.
Composition Foundations
- Rule of Thirds
- Leading Lines
- Framing
- Symmetry & Patterns
- Negative Space
Visual Weight & Balance
Bright colors, faces, and high-contrast areas feel “heavier.” Balance them with other elements. Add foreground interest to create depth and layers.
Light 101: The Secret Sauce
- Golden Hour: Warm, soft light.
- Blue Hour: Cool twilight glow.
- Side-light: Reveals texture.
- Backlight: Adds glow.
White Balance & Color Confidence
Auto WB is fine, but learn presets (Daylight, Shade, Tungsten) and Kelvin for consistency. Shoot RAW to fix WB later without quality loss.
Shooting Modes & When to Use Them
- Auto: Fast and fine for casual snaps.
- P (Program): Smarter auto, you focus on composition.
- A/Av: You set aperture, camera sets shutter.
- S/Tv: You set shutter, camera sets aperture.
- M (Manual): Full control.
Practical Shooting Scenarios
- Portraits: A/Av, f/2.8–f/4, ISO 100–400, open shade.
- Landscapes: A/Av, f/8–f/11, ISO 100, tripod.
- Indoors: Auto ISO, A/Av ~f/2–f/4.
- Night: Tripod, Manual, 1–10s shutter, f/8, ISO 100.
Mobile Photography Tips
Turn on the grid, use HDR for contrasty scenes, shoot RAW if supported, and always clean your lens.
File Formats & Image Management
- RAW vs JPEG: RAW = flexible edits, JPEG = quick sharing.
- Culling: Flag keepers first; delete later.
- Backup: 3-2-1 rule (3 copies, 2 media, 1 offsite).
A Simple Editing Workflow
- Crop & straighten.
- Adjust exposure & contrast.
- Fix white balance.
- Fine-tune clarity.
- Local edits (dodge/burn).
- Sharpen & noise reduction.
- Export (2048px for web, 300 DPI for print).
Build Your Eye & Habit
- Carry your camera daily.
- Tiny projects: “Circles,” “Blue Things.”
- Ask for feedback.
- Study and recreate master shots.
Common Mistakes (and Fixes)
- Soft/Blurry → Raise shutter, use AF-C.
- Noisy → Lower ISO or add light.
- Flat → Move your feet, change angle.
- Crooked → Turn on level or fix in editing.
- Clutter → Simplify background.
Ethics & Legal Basics
Always ask permission for portraits, respect private spaces, and avoid disturbing wildlife. For commercial work, get model or property releases.
Smart Upgrade Path on a Budget
- Buy a sharp prime lens first.
- Add simple lighting (LED or speedlight).
- Invest in tripod/ND filter.
- Spend on workshops before more gear.
Sharing, Printing & Portfolio
Curate your best work, not everything. Export at 300 DPI for prints. Create a simple portfolio website and calibrate your monitor for consistent colors.
Your 30-Day General Photography Challenge
Day 1: Self-portrait with window light
Day 2: Rule of thirds
Day 3: Leading lines
Day 4: Texture close-up
… continue until Day 30: Curate a 9-image grid you’re proud of.
Conclusion: Your Path Starts Now
General Photography is the ultimate playground. With a few core ideas—exposure, focus, light, and composition—you’ll make images that feel intentional and uniquely yours. Start small, shoot often, and don’t wait for “perfect” gear. Your best camera is the one you’ll carry today. Go make something you’ll want to print.
FAQs
Q1. What camera should I buy to start General Photography?
Start with what you have. If buying, go for an entry mirrorless with a kit zoom and a 50mm f/1.8 prime.
Q2. RAW or JPEG for beginners?
JPEG is easy; RAW gives more editing flexibility. Shoot RAW+JPEG if possible.
Q3. How do I avoid blurry photos indoors?
Use a faster shutter (1/125s+), raise ISO, or open your aperture wider.
Q4. Do I need expensive lighting?
No. Natural light and cheap reflectors are enough. Upgrade later if needed.
Q5. How can I get better quickly?
Shoot 3x per week, follow the 30-day challenge, and focus on improving one thing at a time.
For deeper how-tos, gear guides, and printable checklists, explore CameraTale.com — a friendly hub for learners in General Photography. When you blog or share your work, link your tutorials back to CameraTale.com to build authority and discoverability.


