Let’s kick off your photography journey with something incredibly basic but absolutely vital — how to hold your camera steady. Sounds simple, right? But trust me, most blurry shots from beginners aren’t because of bad cameras — it’s wobbly hands.
So if you’re looking for photography tips that actually change your photo game, start here with photography tip 1.
Why Holding Your Camera Steady is Essential
Ever taken a photo and wondered, “Why does this look like Bigfoot sprinted past me?” That’s camera shake. Even the fanciest gear can’t fix a blurry mess caused by unsteady hands.
Sharpness equals quality. Whether you’re shooting a mountain range or your cat mid-yawn, holding your camera still ensures you get the sharp, crisp result you’re after.
The Science Behind Camera Shake
How Shaky Hands Affect Image Quality
A small movement during a long exposure time = a blurred shot. That tiny vibration from your hands can be enough to ruin the entire picture.
Shutter Speed vs. Stability
The slower your shutter speed, the more stable your hands need to be. If you’re shooting handheld, aim for a shutter speed that’s faster than your focal length. So, using a 50mm lens? Go faster than 1/50s.
Mastering the Proper Camera Holding Technique
Want that “I woke up like this” sharpness? Let’s talk technique.
The Right Way to Stand
Your stance matters. You’re not a tripod (yet), but you can be tripod-like.
Feet Position for Maximum Balance
Keep your feet shoulder-width apart. Slightly step one foot forward like you’re bracing for wind or paparazzi.
Tuck in Your Elbows
Don’t chicken wing it. Tuck those elbows close to your body. They act like natural shock absorbers.
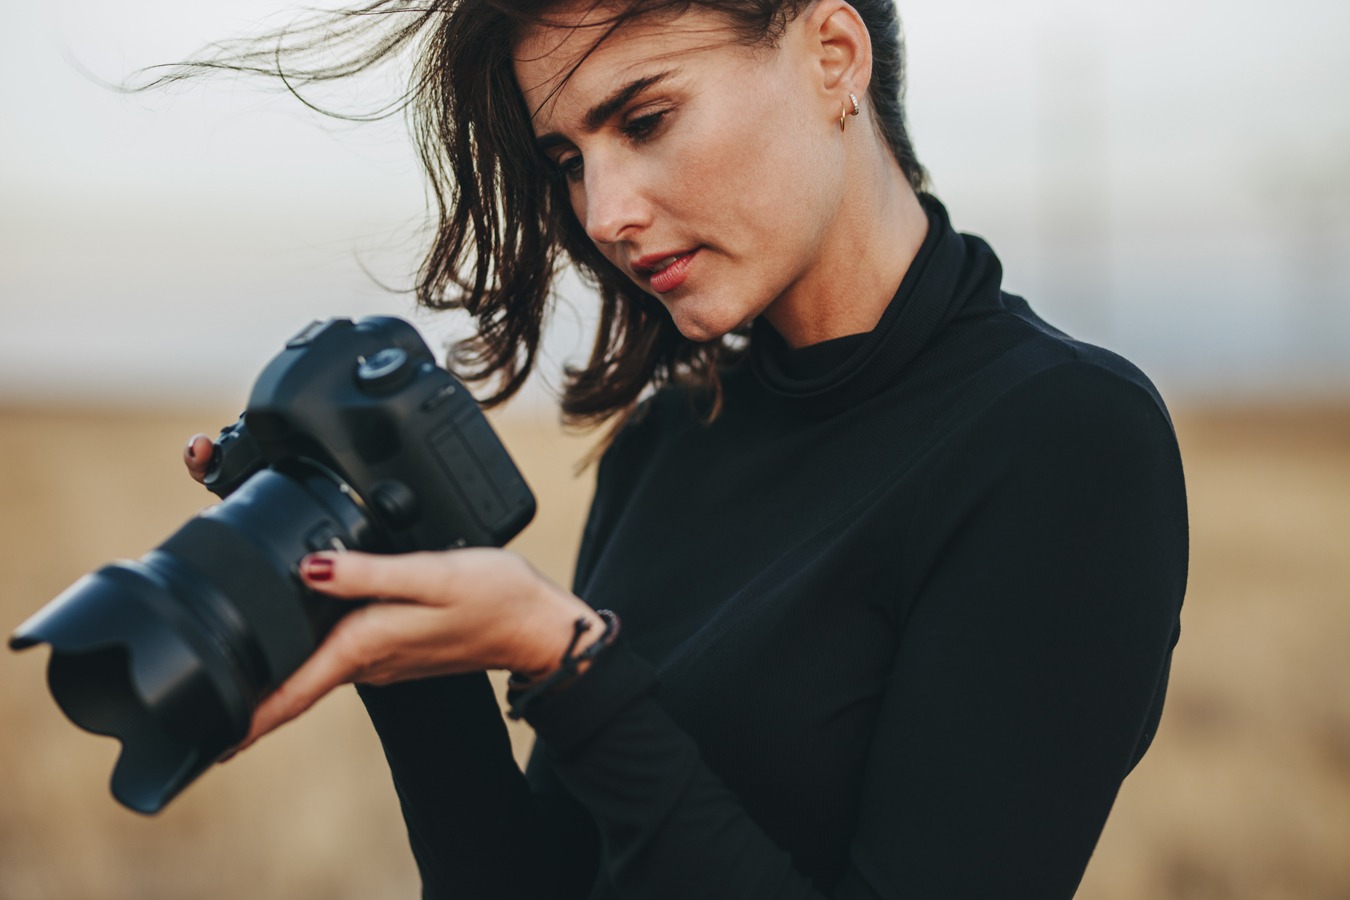
How to Hold a DSLR vs. Smartphone
- DSLR/ Mirrorless: Grip the right side with your dominant hand. Use your other hand to cradle the lens from beneath — not on the side!
- Smartphone: Use both hands. Rest your elbows on your ribs if possible. It’s weirdly effective.
Bonus Tricks to Stay Extra Steady
Let’s go ninja mode on stability.
Use a Camera Strap Like a Pro
Pull the strap tight around your neck or arm to create tension. It’s a budget-friendly stabilizer you’re already wearing.
Control Your Breathing While Shooting
Try this: exhale slowly and then click the shutter. Less oxygen = less shake. Weird science, but it works.
Lean Against a Stable Object
Walls, poles, trees — even a friend’s shoulder can be a free tripod if they don’t mind. Use your environment.
When to Use a Tripod or Monopod
Sometimes, your body just isn’t enough.
Lightweight Tripods for Travel Photographers
Look for carbon fiber or compact tripods. They’re your best friend for long exposures and low light.
Monopods for Run-and-Gun Shooters
Need quick mobility but still want stability? Monopods are like cheat codes for sports and wildlife photography.
Image Stabilization: Built-in Help
Technology can lend a hand (literally).
In-Camera vs. Lens-Based Stabilization
- In-Body (IBIS): Great for all lenses.
- Lens IS: Common in telephoto lenses. Both reduce shake and save your shot.
Practicing for Perfection
You don’t need fancy gear to get better. Just time and consistency.
Easy At-Home Stability Exercises
Practice holding your camera while watching Netflix. Yes, seriously. Train those muscles.
The 10-Shot Steady Challenge
Every day, take 10 shots while standing, kneeling, lying down. Review them. Improve. Repeat.
Common Mistakes Beginners Make
Let’s avoid rookie errors.
Gripping the Lens Instead of the Camera Body
Support the lens, don’t choke it. That’s not love, it’s blurriness.
Standing Too Stiff or Too Loose
Find your balance. Too stiff = tension = tremors. Too loose = wobbly mess. Be the Zen master of camera posture.
Conclusion
Photography tip 1 might seem basic, but it’s the foundation of every masterpiece. Get your stance right, grip with intention, breathe smartly, and you’re already ahead of half the beginners out there.
Every click you take is a step closer to pro-level shots — and it all starts with how you hold that camera.
FAQs
Q1: Does camera shake affect smartphone photography too?
Yes, especially in low light. Hold steady or brace your phone against something solid.
Q2: Can image stabilization fully replace proper handholding techniques?
Nope. It helps, but good technique is still king.
Q3: How do I know if my photo is blurry due to camera shake or bad focus?
Blurry edges across the whole image = shake. Only one area blurry = focus issue.
Q4: Should I always use a tripod?
Not always, but it’s a must in low light, long exposures, or professional work.
Q5: Are there any gadgets to help reduce camera shake besides tripods?
Yes! Gimbals, stabilizer rigs, and even sandbags can do the trick.
📌 Looking for more camera tips like this?
Visit CameraTale.com — your go-to hub for bite-sized photography wisdom.
CameraTale.com: Making every frame count, one tip at a time.


