Introduction to Photography Tip 24
Have you ever noticed how your eyes instinctively follow a road, a river, or a fence inside a photograph? That subtle pull is the power of leading lines. In this post, we’ll unpack photography tip 24—how to find, compose, and enhance leading lines so your photos guide the viewer exactly where you want them to look. Whether you’re shooting landscapes, portraits, street scenes, or architecture, leading lines are a simple, transformative trick that elevates your composition from ordinary to magnetic.
What Are Leading Lines in Photography?
The Concept Behind Leading Lines
Leading lines are any visual elements in your frame—literal or implied—that draw the eye from one part of the image to another. Roads, rails, fences, shadows, rows of trees, the edge of a shoreline—anything that creates a directional cue can act as a leading line. Think of them as invisible arrows that guide the viewer to the image’s focal point.
Why Leading Lines Matter in Composition
Good composition is about control. Leading lines give you that control. Without them, a viewer’s eye might drift randomly; with them, you become a visual director. Leading lines create flow, frame your subject, reinforce depth and perspective, and help transform a static photo into a story.
The Psychology of Leading Lines
How the Human Eye Follows Lines Naturally
Our brains are wired to follow paths. Evolutionarily, following trails or rivers led to food and shelter; visually, the mind follows lines to find conclusions. As photographers, we use that natural tendency to steer attention—deliberately placing lines so they end at a subject or a point of interest.
Emotional Impact of Leading Lines
Different lines create different moods. Straight, parallel lines bring order and strength. Curves feel gentle and inviting. Diagonal lines add tension and motion. Choosing the right line type becomes a subtle way to affect the viewer’s emotions.
Types of Leading Lines in Photography
Horizontal Leading Lines
Horizontal lines (horizons, shorelines, rows) create calmness and stability—great for tranquil landscapes and seascapes.
Vertical Leading Lines
Verticals (trees, skyscrapers, poles) emphasize height and strength. They’re useful for portraits with powerful posture or for architectural shots that aim to impress.
Diagonal Leading Lines
Diagonals bring dynamism and motion. Roads or bridges running at an angle energize the frame and can imply direction or movement.
Curved Leading Lines
Curves—gentle S-shaped rivers or winding paths—lead viewers on a relaxed visual journey. They’re perfect for storytelling and romantic or serene moods.
Implied Leading Lines
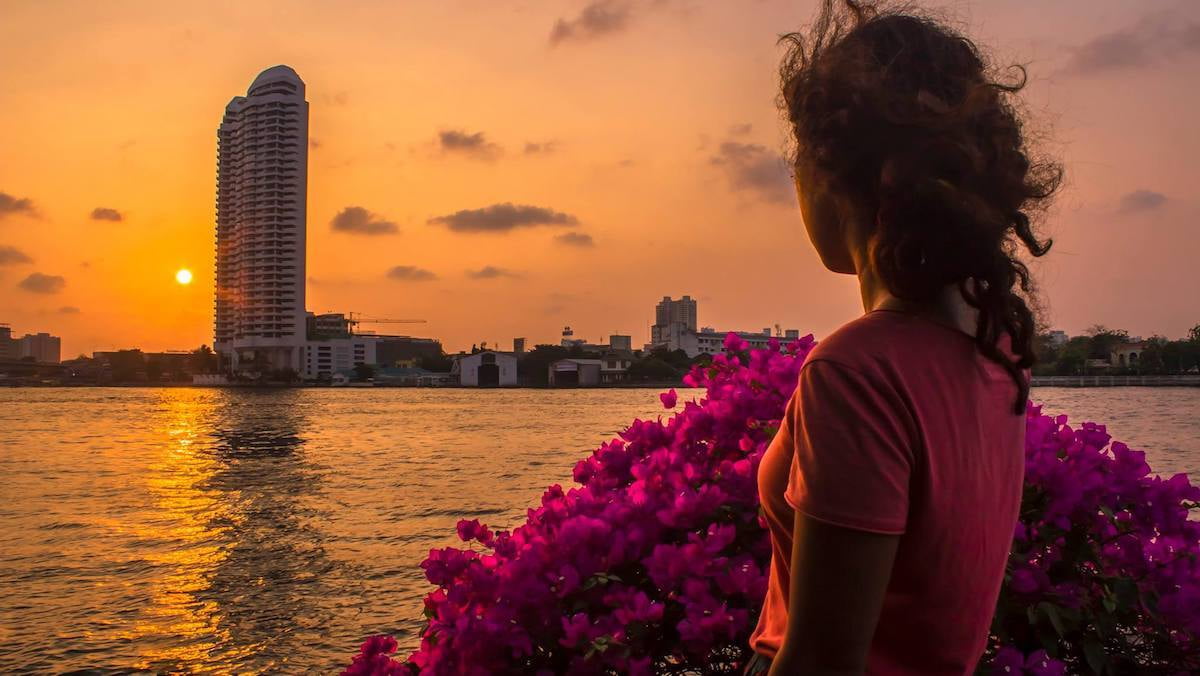
Not all leading lines are physical. The direction someone is looking, a row of objects, or a sequence of light patches can imply a path. Implied lines are subtle, but powerful when used well.
Finding Leading Lines in Everyday Scenes
Urban Landscapes
Cityscapes are a goldmine: roads, tram tracks, bridge cables, sidewalks, and railings create graphic, high-contrast lines that work well at dawn or dusk when shadows are long.
Nature and Outdoor Photography
In nature, look for rivers, streams, ridgelines, fallen logs, and paths. Even the brush strokes in a field or patterns in rocks can form lines that draw the eye.
Architectural Shots
Buildings, staircases, corridors, beams, and window rows provide precise geometric lines. Shoot from different heights and angles—sometimes just stepping left or right changes a weak line into a strong leading path.
How to Use Leading Lines for Storytelling
Creating Depth and Perspective
Lines that converge toward a vanishing point add three-dimensional depth to a two-dimensional photograph. Use a wide-angle lens to exaggerate the perspective or place a subject at the convergence to maximize impact.
Drawing Attention to the Subject
Position your subject where the lines meet or point. This is the photographic equivalent of placing an “X” on a treasure map—you create an instinctive stopping point for the viewer’s gaze.
Adding Motion and Energy to a Shot
Slanting diagonals and zig-zag lines can give the impression of movement even in a still scene. Combine this with a low shutter speed for panning shots or with static subjects for tension.
Technical Tips for Shooting Leading Lines
Camera Settings for Sharp, Strong Lines
- Aperture: Use f/8–f/16 for good depth-of-field—both foreground and background remain sharp so lines stay strong.
- Shutter Speed: Keep it fast enough to avoid blur when hand-holding; use a tripod for long exposures (e.g., light trails on roads).
- ISO: Keep ISO low (100–400) for cleaner, crisper lines and less noise.
Lens Choices for Dramatic Composition
Wide-angle lenses (24mm–35mm on full-frame) exaggerate perspective and lengthen lines, making foreground elements feel larger and lines sweep into the frame. Telephoto lenses compress distance and can shorten apparent line length—use them when you want tighter compositions.
Using Foreground and Background to Your Advantage
Start your line in the foreground to pull the viewer in, then let it travel toward the subject in the mid-ground or background. Foreground anchors create immersive scenes and powerful depth cues.
Common Mistakes When Using Leading Lines
Overcrowding the Frame
Including too many lines can confuse the eye. Simplify the composition: pick one or two prominent lines to do the heavy lifting.
Misleading the Viewer’s Eye
If lines lead out of the frame or toward nothing relevant, they can frustrate the viewer. Ensure that lines point toward your subject or converge in a meaningful area.
Overly Obvious Lines That Feel Forced
Forced compositions with over-emphasized lines can feel contrived. Subtle, natural lines often feel more pleasing and authentic.
Editing Tips for Enhancing Leading Lines
Cropping for Stronger Direction
Post-crop to adjust where lines start and end inside the frame. A slight crop can move a line’s starting point to a corner—this often strengthens its guiding effect.
Using Contrast and Light to Strengthen Lines
Increase local contrast or clarity along a line to make it pop. Dodging a highlight or burning a shadow selectively can draw the eye along the intended path.
Color Grading to Highlight Pathways
Desaturate distracting background colors or boost the color of the pathway to subtly guide attention. Selective color can be particularly effective in travel photography.
Famous Examples of Leading Lines in Photography
Iconic Landscape Photos
Landscape masters often use ridgelines, rivers, or fence rows that sweep the eye toward majestic peaks or dramatic skies. These images teach us to use natural geography as compositional scaffolding.
Street Photography Classics
Street photographers use sidewalks, subway tracks, and shadow lines to pull the viewer into decisive moments—often ending at a person or an action that tells the story.
Modern Instagram-Worthy Shots
Travel influencers frequently use boardwalks, railways, and coastal roads as leading lines, creating shareable images that invite a viewer to mentally step into the scene.
Practicing Photography Tip 24
Simple Exercises for Beginners
- Walk for 30 minutes and photograph five different leading lines—start your line at different positions (corner, middle, side) to see which feels strongest.
- Shoot the same line at multiple apertures and focal lengths; note how depth-of-field and perspective change the effect.
- Photograph a portrait where a pathway or railing points toward the subject—compare shots with and without the line.
Advanced Challenges for Experts
- Combine multiple line types (diagonal + curved) and learn how the eye chooses one path over another.
- Shoot long exposures at night to use vehicle light trails as energetic leading lines.
- Create composite images where artificial lines are blended into natural scenes—use this sparingly and artistically.
Conclusion
Mastering photography tip 24—the use of leading lines—gives you a simple, highly effective way to control viewer attention and inject storytelling into every frame. Whether you’re a beginner or a seasoned shooter, pay attention to the paths in your scene—their presence (or absence) will often decide whether an image captivates or simply exists. Next time you’re out with your camera, ask: Where do I want the eye to travel? Then find the line that will take it there.
FAQs
1. What is photography tip 24?
It’s a composition tip focused on using leading lines to guide the viewer’s gaze through your photograph to a subject, improving storytelling and visual flow.
2. Do leading lines always have to be straight?
No. Curved or implied lines are often more natural and emotionally compelling than straight lines—choose what fits the story you want to tell.
3. Can I use leading lines in portraits?
Absolutely. Use doorways, railings, tiles, or even the pose of a subject to create lines that direct attention to the face or eyes.
4. What lens is best for leading lines?
Wide-angle lenses exaggerate perspective and make lines feel longer and more dramatic. Telephotos compress the scene and can isolate converging lines—both are useful depending on your goal.
5. How do I find leading lines when stuck indoors?
Look for hallways, window light, furniture edges, tiled floors, staircases, or shadow patterns thrown by blinds. Subtle cues can be just as powerful indoors.
For more hands-on photography tips, gear reviews, and composition guides, visit CameraTale at cameratale.com.
CameraTale — your go-to resource for creative photography how-tos and inspiration.
More Tips: See Tip #23 | See Tip #25


