White balance might sound like something only the pros fuss over, but trust me—it can make or break your shot. If you’ve been letting your camera decide for you, this is the perfect time to take control. Photography Tip #29 is all about stepping up your game with manual white balance settings.
Why White Balance Matters in Photography
Ever taken a photo indoors and it came out looking a little too orange… or maybe way too blue? That’s white balance in action—or in some cases, in mis-action. White balance ensures your colors look natural and true to life, matching what your eyes actually see.
The Science Behind White Balance
Light comes in different “color temperatures,” measured in Kelvin.
- Lower Kelvin values (like 2,500K) look warmer and more orange.
- Higher values (like 7,000K) appear cooler and bluer.
Your camera tries to compensate so whites look white—whether you’re in golden evening light or under harsh fluorescent tubes.
How Auto White Balance Works
Auto White Balance (AWB) is like your camera’s best guess. It analyzes the scene and tries to neutralize color casts. It works most of the time—but not all the time.
When Manual White Balance Beats Auto
Sometimes, AWB just doesn’t cut it. That’s where manual settings shine.
Situations Where Auto Struggles
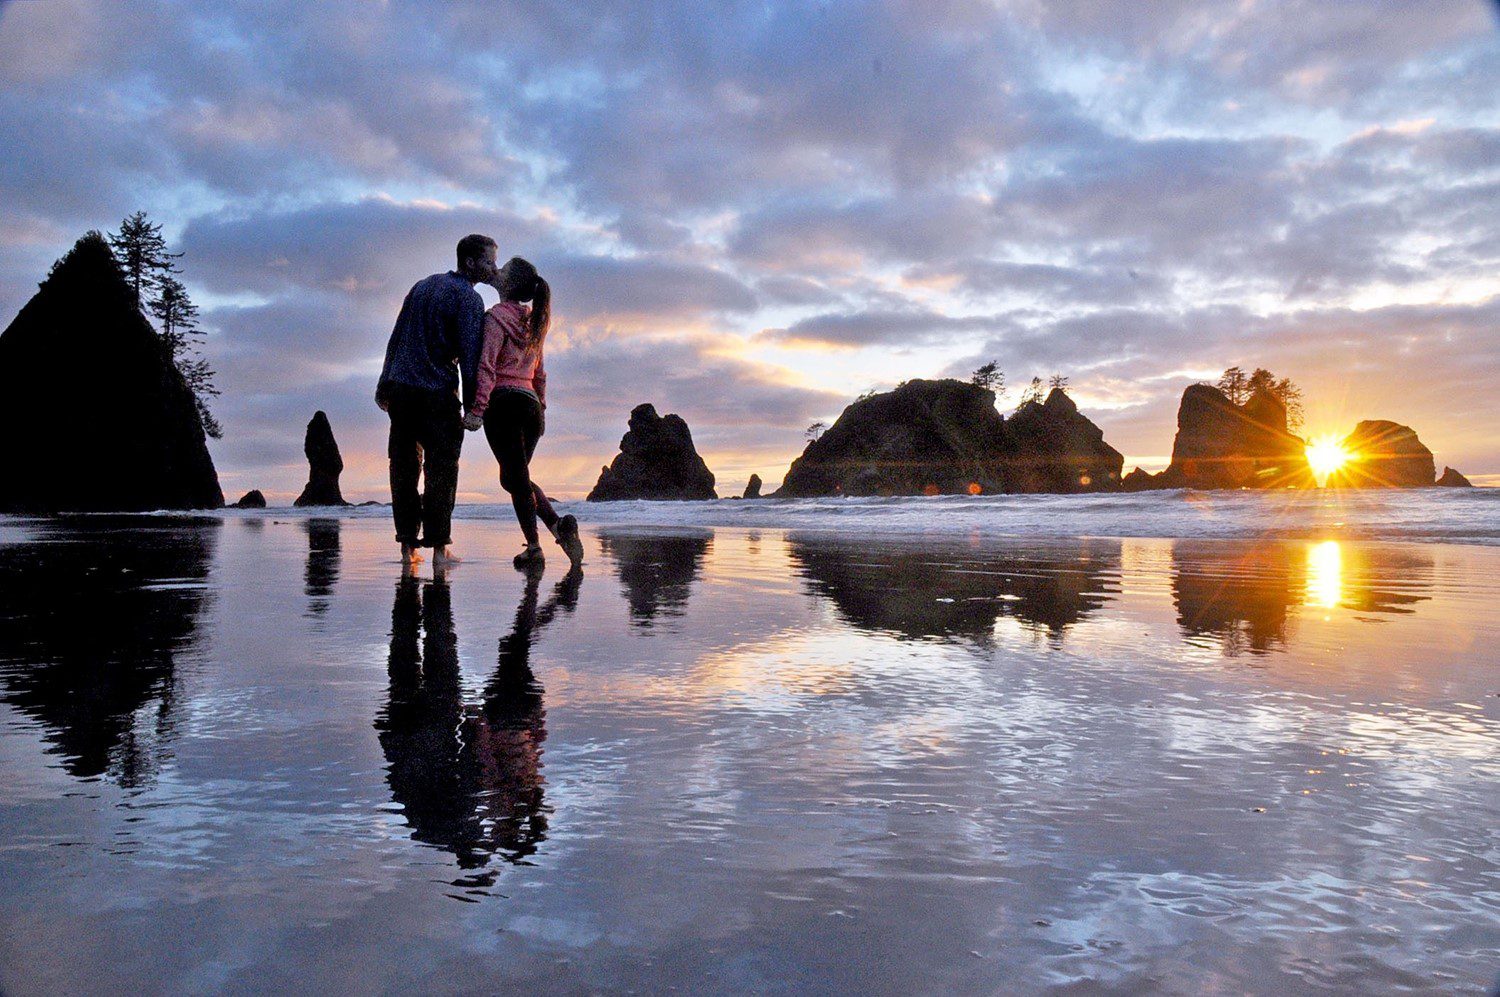
- Sunset & Sunrise: AWB tends to “neutralize” those golden hues you want to keep.
- Concerts & Stage Lighting: Strange colored lights throw off AWB.
- Mixed Lighting: A combination of daylight and indoor bulbs confuses your camera.
Creative Control Through Manual Settings
By setting white balance yourself, you decide whether to keep a warm, cozy look or go for a crisp, cool feel.
Understanding White Balance Presets
Your camera likely has built-in presets for common lighting conditions. These are quick, easy, and surprisingly effective.
Daylight
Perfect for shooting outdoors in bright sunlight. Keeps colors true without over-correcting.
Cloudy
Adds a touch of warmth to balance the cooler tones from overcast skies.
Shade
Warms up the blues that can creep in under shaded areas.
Tungsten
Cools down the warm, orange glow of standard household bulbs.
Fluorescent
Adds warmth to counteract the greenish cast from fluorescent lighting.
How to Set Manual White Balance on Your Camera
If you’ve never done this before, don’t worry—it’s easier than it sounds.
Step-by-Step Guide for DSLRs and Mirrorless Cameras
- Press your camera’s WB (White Balance) button or go into the menu.
- Select a preset (Daylight, Cloudy, Shade, Tungsten, Fluorescent) or Custom.
- For Custom: Photograph a white or neutral gray object under your lighting.
- Set that shot as your white balance reference.
Using Custom Kelvin Settings
Some cameras let you dial in a specific Kelvin number.
- Warm tones: Lower Kelvin (3,000–4,000K).
- Cool tones: Higher Kelvin (6,000–8,000K).
Common Mistakes When Adjusting White Balance
Even seasoned photographers mess this up sometimes.
Forgetting to Reset Settings
You don’t want yesterday’s tungsten setting ruining today’s daylight shoot.
Overcompensating Colors
Don’t push things too far or skin tones will look unnatural.
Creative Uses of White Balance for Photography
White balance isn’t just about accuracy—it’s a creative tool.
Warmth for Sunset Scenes
Want that dreamy, golden vibe? Shift your Kelvin lower to keep the warm tones glowing.
Cool Tones for Moody Shots
Need a wintery or cinematic look? Push Kelvin higher to bring in cooler shades.
White Balance in Post-Processing
Even if you nail it in-camera, post-processing gives you fine control.
Lightroom & Photoshop Adjustments
Both tools let you adjust white balance sliders to tweak warmth and tint.
RAW vs JPEG Flexibility
Shooting in RAW gives you way more freedom to adjust white balance later without quality loss.
Tips for Consistent White Balance in Different Lighting
Matching Multiple Cameras
If you’re shooting an event with two cameras, set them to the same Kelvin for consistent colors.
Shooting in Mixed Lighting Conditions
Pick your dominant light source and adjust white balance to match it, or use gels to unify lighting.
Conclusion
Switching to manual white balance might feel like one more thing to worry about, but it’s actually a shortcut to better, more consistent photos. Once you get the hang of it, you’ll see your shots transform—colors will look exactly how you imagined them, and you’ll have creative control that AWB just can’t match.
FAQs
Q1: Is manual white balance better than auto?
Yes—especially in tricky lighting where auto struggles, manual settings give more accurate and consistent results.
Q2: What Kelvin value should I use for sunsets?
Try between 3,500K–4,500K to keep that warm, golden glow.
Q3: Can I fix bad white balance in editing?
If you shot in RAW, yes. JPEGs are harder to fix without losing quality.
Q4: Do smartphone cameras have manual white balance?
Many modern smartphones with Pro mode allow you to adjust white balance manually.
Q5: What’s the easiest way to set custom white balance?
Use a white or gray card under your scene’s lighting and set it as your reference in the camera menu.
CameraTale.com – Your go-to hub for simple, practical photography tips. Learn, shoot, and share your best moments with the world.


