If you’ve ever wanted to add a dash of drama, energy, or abstract artistry to your photos, photography tip 85 has got you covered. Manual zoom blur is one of those effects that can instantly transform a mundane shot into something that looks straight out of a magazine. Let’s dive into the art, technique, and fun of creating stunning zoom blur images.
Introduction to Photography Tip 85
So, what makes photography tip 85 so exciting? It’s all about motion and perspective. Unlike standard photos that freeze time, zoom blur injects movement directly into your image, giving it a dynamic, almost surreal quality. And the best part? You don’t need a fancy camera—just some patience and creativity.
What is Manual Zoom Blur?
Understanding the Effect
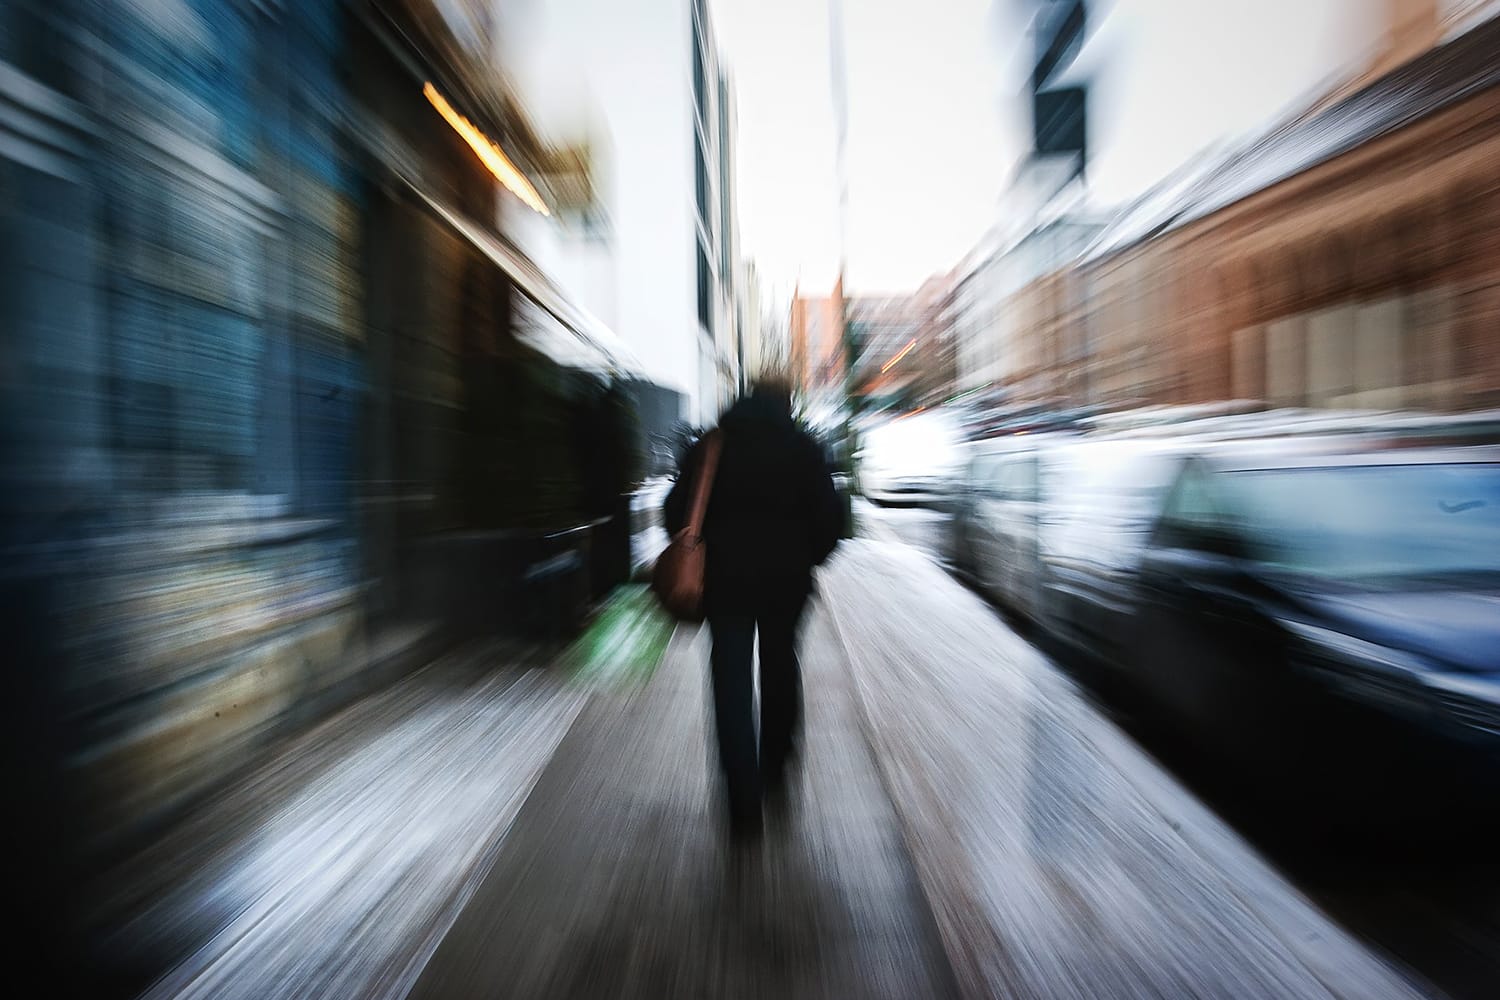
Manual zoom blur is an optical effect where the subject appears sharp in the center while the surrounding areas streak outward. Imagine standing in the eye of a storm—the world around you seems to fly past, but you remain calm and clear. That’s the feeling you capture with this technique.
Why Photographers Love It
It’s dramatic, it’s creative, and it’s perfect for storytelling. Photographers use it to draw attention to the main subject, add motion to static scenes, or simply create abstract, eye-catching art. It’s like painting with light and motion, and the results are always unique.
Essential Gear for Zoom Blur Photography
Camera Requirements
Almost any DSLR or mirrorless camera with manual settings will do. The key is to have full control over shutter speed and zoom. Even some high-end point-and-shoots allow manual zoom blur, so don’t stress if your kit isn’t top-tier.
Lens Selection Tips
Zoom lenses are your best friend here. Something with a focal range of 18-55mm works fine, but longer zoom lenses give more pronounced blur effects. The trick is smooth zooming without jerky movements.
Tripod and Stability Considerations
A tripod is crucial for cleaner results. While you can handhold for a more chaotic effect, stability lets you control the streaks and prevents unwanted camera shake. Bonus tip: a tripod with a smooth panning head makes zoom blur a breeze.
Step-by-Step Guide to Manual Zoom Blur
Setting Up Your Camera
Start in manual mode. Set a low ISO (100–400), pick a small aperture (f/8–f/16) for more depth, and choose a shutter speed that lets you see motion (usually 1/5 to 1 second). Focus on your subject, then get ready to zoom while the shutter is open.
Choosing the Right Shutter Speed
Shutter speed is everything here. Too fast, and your blur disappears. Too slow, and you risk overexposure. Experiment within the 1/5 to 1-second range depending on light conditions and desired blur intensity.
Executing the Zoom Blur
Press the shutter and zoom in or out in a smooth motion. It’s like riding a roller coaster with your lens—smooth, controlled, and steady. The key is practice; your first shot may be shaky, but each try improves.
Tips for Smooth Zoom Motion
Use two fingers for lens control and try consistent speed. Avoid sudden jerks, or your blur may look messy. Practicing on different subjects can help you develop muscle memory.
Adjusting for Lighting Conditions
If it’s bright, lower your ISO or use a neutral density filter. Dim settings? Open your aperture slightly, or increase your shutter duration. The goal is consistent exposure while keeping the blur effect dramatic.
Creative Ideas for Zoom Blur Shots
Urban Photography
City lights at night? Perfect! Zoom blur adds motion to cars, streetlights, or neon signs, turning the ordinary into kinetic art.
Nature and Landscape Photography
Try zooming in on a single tree, waterfall, or flower. The background stretches outward, creating a vortex of colors that draws the eye right to your subject.
Portraits with a Twist
Zoom blur can make portraits pop with a surreal aura. Keep the subject still while you zoom, and suddenly, they’re in the eye of a dynamic visual storm.
Common Mistakes and How to Avoid Them
The most common errors? Jerky zooms, wrong shutter speeds, and poor focus. Avoid them by stabilizing your camera, practicing smooth zooms, and checking your histogram. Also, don’t forget to experiment—sometimes happy accidents create the best shots.
Post-Processing Techniques
Post-processing can enhance your manual zoom blur. Slight contrast boosts, sharpening the central subject, and subtle vignettes make the blur pop. Software like Lightroom or Photoshop allows selective adjustments without ruining your streaky masterpiece.
Tips to Master Photography Tip 85 Faster
1. Practice with different shutter speeds.
2. Try various zoom speeds and directions.
3. Experiment with both landscape and portrait orientations.
4. Review your shots and adjust your technique incrementally. Remember, consistency comes with repetition.
Conclusion
Photography tip 85 is a playground for creativity. From city streets to serene landscapes, manual zoom blur lets you infuse motion, drama, and a bit of magic into your photos. With patience, practice, and experimentation, you’ll be creating visually stunning images that capture attention every time. Now, grab your camera, pick a subject, and let the blur begin!
For more exciting photography tricks and guides, visit cameratale.com – your ultimate resource for mastering photography.
FAQs
Q1: Can I achieve zoom blur with a smartphone?
A1: Some smartphones with manual controls allow it, but DSLR or mirrorless cameras offer better results.
Q2: What’s the ideal shutter speed for zoom blur?
A2: Usually between 1/5 and 1 second, depending on light and effect.
Q3: Do I need a tripod for every zoom blur shot?
A3: Not always, but a tripod ensures cleaner, controlled streaks.
Q4: Can I use zoom blur for portraits?
A4: Absolutely! Keep your subject still, and the background will create dynamic motion.
Q5: How do I make the blur more dramatic?
A5: Increase zoom speed, use a longer shutter, or experiment with lens focal length.


