Why Portrait Photography?
Portrait Photography is the art of showing who a person is (or who you want them to be) in a single image. It’s ideal for creatives, professionals, hobbyists, and anyone who wants to learn how light, composition, and people skills combine to create meaningful images.
Understanding the Basics of Portrait Photography
Portraits are storytelling. A successful portrait shows who the person is and makes the viewer feel something. The basics are simple: gear that fits your budget, control of light, smart composition, and good people skills. Now let’s break those down.
Types of Portraits
- Headshots — tight, professional, ideal for actors or LinkedIn.
- Environmental portraits — subject shown in their place (like a painter in the studio).
- Lifestyle portraits — candid, story-driven, everyday moments.
- Candid portraits — spontaneous, raw emotion.
Each type influences your gear, lighting, and how you direct the subject.
Essential Gear for Beginners
You don’t need expensive gear to make great portraits. Start with:
- A camera you know (mirrorless or DSLR; even some phones are excellent).
- One or two lenses optimized for portraits.
- A reflector or inexpensive diffuser.
- A comfortable strap and extra batteries.
The single most valuable thing is practice — not the fanciest camera.
Lenses for Portraits
Lenses shape portraits. Common choices:
- 50mm (full-frame) — versatile, natural perspective; great for full-body and mid-length.
- 85mm — classic portrait lens; flattering compression and creamy background blur.
- 35mm — environmental portraits with context; be careful with distortion on faces.
If you have one lens, a 50mm is an excellent all-purpose starter. For more dreamy backgrounds, step up to an 85mm.
Mastering Camera Settings
Understanding exposure (aperture, shutter speed, ISO) is essential. Once you can control these, you can make technical choices that match your creative vision.
Aperture & Depth of Field
Aperture controls how much of the scene is sharp. Wide apertures (f/1.8–f/2.8) give you that popular blurry background (shallow depth of field) and draw attention to the subject’s eyes. Want more environment? Close the aperture (f/5.6–f/11). Tip: always prioritize sharp eyes over background blur.
Shutter Speed & Motion
Keep the shutter fast enough to avoid camera or subject motion blur. For static portraits, a good rule is: shutter speed ≥ 1 / (focal length × crop factor) as a starting point. For example, with a 50mm on full-frame, aim 1/60–1/125s or faster. If the subject moves, increase speed.
ISO and Noise Management
ISO brightens the image but can introduce noise. Use the lowest ISO that lets you keep the aperture and shutter speed you want. Modern cameras handle higher ISO well, but cleaner is always better for skin tones.
Composition & Framing
Composition is storytelling grammar. Small framing choices change the tone of the portrait.
Rule of Thirds and Headroom
Placing the eyes on the upper third line usually looks pleasing. Leave appropriate headroom — not too cramped, not too loose. Tight headshots should crop just above the hair and below the collarbone.
Leading Lines & Negative Space
Use architecture or natural lines to guide the viewer’s eye. Negative space can make a portrait feel cinematic or lonely depending on your intent.
Posing and Expression
Posing shouldn’t look stiff. Suggest subtle shifts — angle the shoulders, tilt the chin, shift weight to one hip. Ask questions to coax real expressions: “Tell me about a trip you loved” often yields a softer, genuine smile.
Hands, Chin & Body Angles
Small things matter. Relaxed hands, a slightly turned chin, and a soft jawline can transform a portrait from awkward to polished. Encourage movement to find natural poses — a laugh, a walk, a head turn.
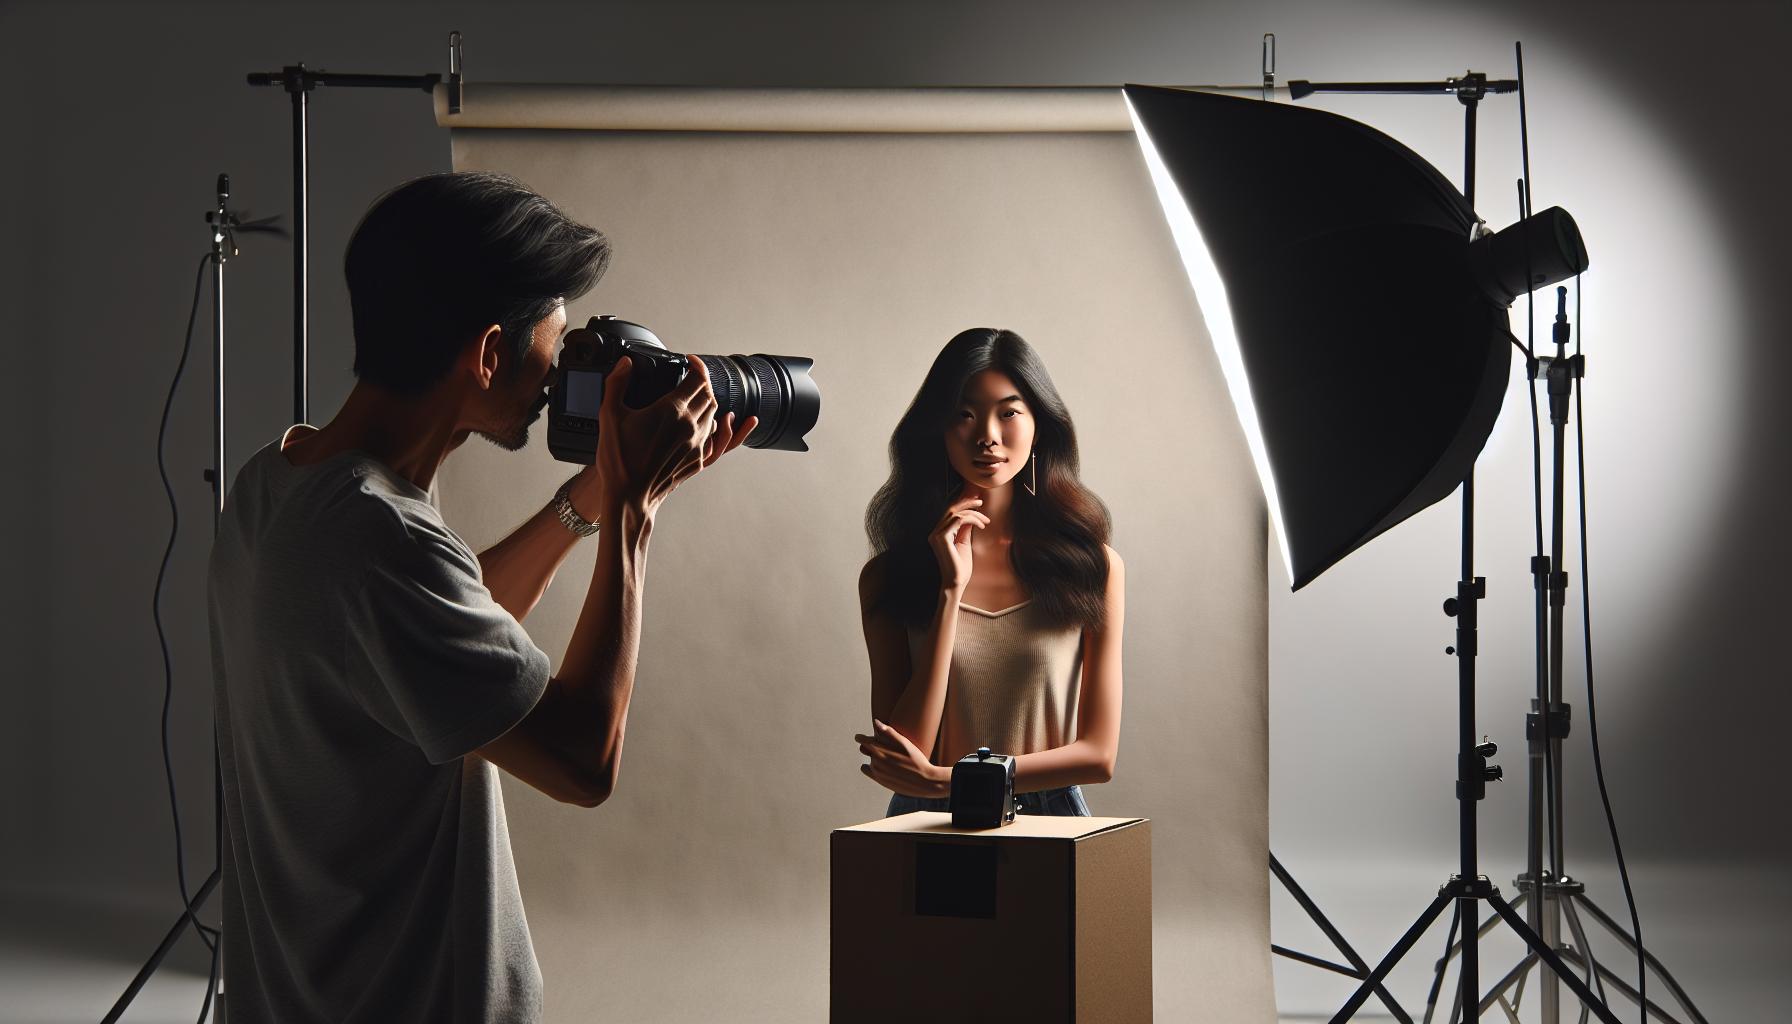
Lighting Techniques
Light is your paintbrush. It sculpts features, sets mood, and creates depth. Learn a few basic setups and you’ll be surprised how much control you can get.
Natural Light Portraits
Natural light is often the best teacher. Try:
- Golden hour (shortly after sunrise or before sunset) for warm, soft light.
- Open shade for even skin tones without harsh shadows.
- Window light for moody, directional portraits — place the subject near the window and play with angles.
Artificial Lighting
Speedlights and studio strobes let you freeze motion and shape light. Start simple: a single softbox or umbrella placed at a 45° angle gives flattering soft light. Then experiment with rim lighting or fill lights.
Using Reflectors and Diffusers
Reflectors bounce light to fill shadows; diffusers soften harsh sun. They’re cheap but super effective. Think of a reflector as a second “light” you carry in your hand — game changer for outdoor portraits.
Working with Your Subject
The best portraits are collaborations. Make people comfortable: chat, laugh, and give simple directions. Confidence in front of the camera often comes from feeling seen and guided.
- Start with easy poses, then move to more expressive options.
- Give quick, positive feedback: “Yes — that look works!”
- Use props or movement to reduce stiffness (a jacket over the shoulder, walking toward the camera).
Backgrounds & Environments
The background should support the subject, not distract. For environmental portraits, choose a setting that adds story (workshop, kitchen, city street). For clean headshots, simple seamless backgrounds or blurred backgrounds work best. Avoid busy patterns that clash with your subject’s clothing.
Styling, Color & Wardrobe
Clothing impacts mood and focus. Solid colors or subtle patterns usually photograph better than loud patterns. Consider complementary colors between wardrobe and background. Texture (knits, denim, leather) adds depth. For groups, coordinate tones — not identical outfits — to keep visual interest.
Post-Processing Basics
Editing completes the portrait. A lightweight workflow: import RAW, choose a basic crop, fix exposure, adjust white balance, refine skin tones, and sharpen eyes. Keep edits natural; the aim is to enhance, not reinvent.
Quick Retouch Checklist
- Remove temporary blemishes.
- Even out skin tones (subtlety wins).
- Enhance eyes (brighten catchlights, add slight clarity).
- Adjust color and contrast for mood.
- Export at appropriate sizes for web or print.
Common Mistakes Beginners Make
We all start somewhere. Watch for:
- Shooting at tiny apertures that flatten the subject.
- Letting the background compete with the subject.
- Forgetting to focus on the eyes.
- Over-retouching skin until it looks plastic.
Catch these early and you’ll progress much faster.
Practical Exercises & Challenges
Practice beats theory. Try these:
- 7-day portrait challenge — one portrait per day using different light.
- One-lens challenge — only use a 50mm for a month.
- Expression drill — capture six genuine emotions in one session.
These drills build confidence and muscle memory.
Legal & Ethical Considerations
Always ask permission before photographing someone, especially in private spaces. For commercial use, get a signed model release. Respect privacy and cultural sensitivities — ethical practice builds your reputation as a photographer.
Conclusion
Portrait Photography is both an art and a craft — learning the technical rules gets you in the game, but empathy, communication, and creativity win hearts. Start with simple gear, learn how light and aperture shape a face, practice deliberate composition, and treat every session as a chance to tell a human story. Keep shooting, stay curious, and watch your portraits come alive.
FAQs
Q1: What lens is best for portrait photography for beginners?
A: For beginners, a 50mm lens (on full-frame) or 35–50mm equivalent on crop sensors is a fantastic starting point. It’s affordable, versatile, and helps you learn framing and distance.
Q2: Should I shoot portraits in aperture priority or manual mode?
A: Start in aperture priority (A/Av) to control depth of field while the camera handles shutter speed. As you gain confidence, practice manual mode to fully control exposure.
Q3: How do I make my subject feel comfortable?
A: Talk to them, explain what you’re doing, play music they like, and give simple, positive directions. Small talk and humor ease nerves and create natural expressions.
Q4: What’s the best time of day for outdoor portraits?
A: Golden hour (the hour after sunrise and before sunset) is ideal for warm, soft light. Overcast days are also great because the clouds act as a giant diffuser.
Q5: How much retouching is too much?
A: When the portrait loses the subject’s natural texture and looks plastic, that’s too much. Aim for subtlety — remove distractions, even skin tones, and enhance eyes while keeping the person’s character.
CameraTale.com is your go-to hub for expert photography tips, gear guides, and creative tutorials designed for beginners and pros alike. Explore in-depth articles on portrait photography, lighting, and editing to elevate your skills and capture stunning images every time.


