What is Fine Art Photography?
Fine Art Photography is imagery created primarily to express the artist’s vision rather than to document. While commercial or editorial photography aims to sell or inform, fine art prioritizes meaning, composition and the artist’s personal viewpoint. Think of it as the difference between cooking a quick meal and composing a tasting menu: both feed you, but one is designed to transport you.
A Brief History & Influences
Fine art photography matured as photographers began to argue that the camera could be used for aesthetic expression—not only accurate recording. Early 20th-century figures like Alfred Stieglitz and Edward Steichen championed photography in art galleries. Movements such as Pictorialism and Modernism reshaped how photographers thought about subject, medium and message.
Early pioneers and the shift from documentation to expression
Pictorialists used soft focus and painterly techniques to make photos resemble paintings. Later generations embraced the camera’s unique strengths—sharpness, tonal range and framing—to create work that only photography could achieve.
Influence of painting, cinema, and literature
Fine art photographs often borrow visual strategies from painters (composition and palette), filmmakers (storyboarding and staging) and writers (themes and metaphor). Cross-pollination enriches photographic practice—translate, don’t copy.
Core Techniques Every Fine Art Photographer Should Know
Techniques are tools: they don’t define your art but help you realize your ideas. Master these core areas to give your photographs expressive clarity.
Composition: framing, negative space, and visual weight
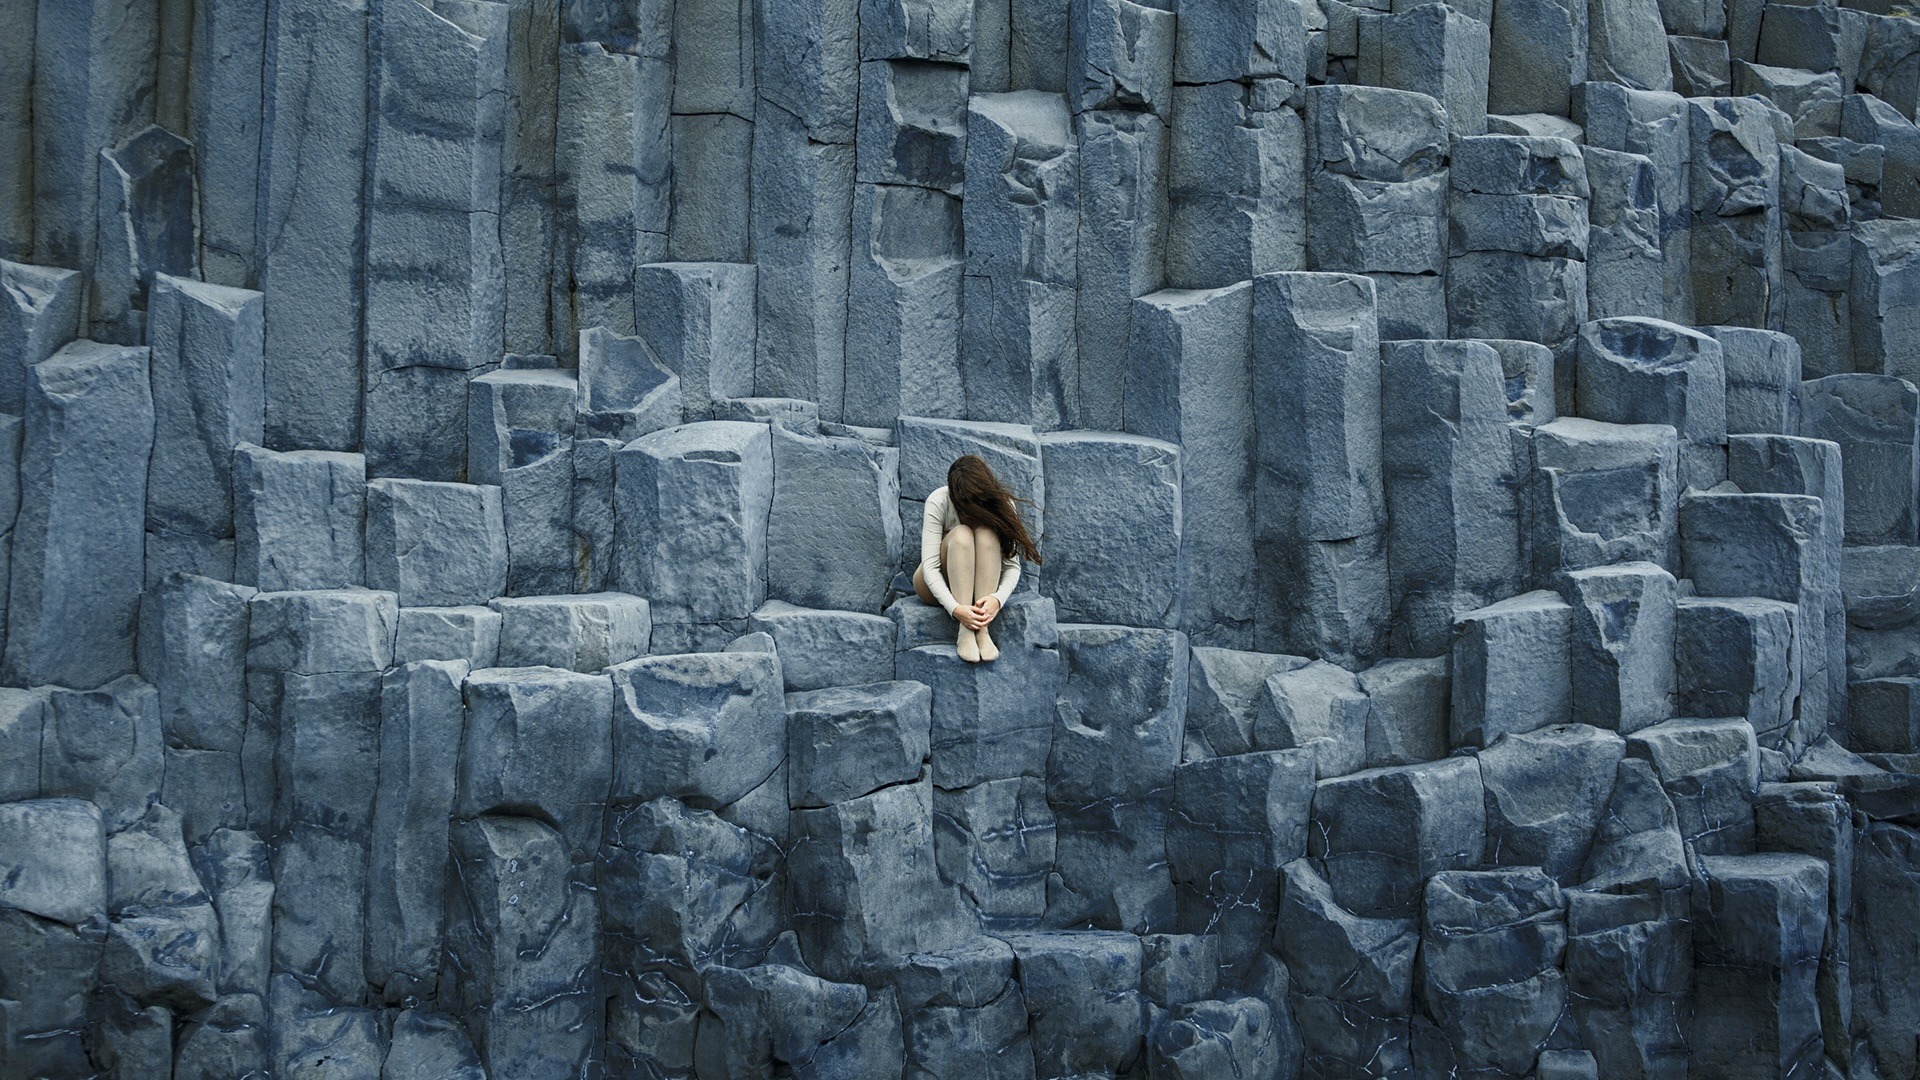
Composition is the grammar of visual storytelling. Where you place your subject, how you balance empty space, and how you lead the eye all change the message. Negative space can be a silence that amplifies the subject; visual weight (contrast, size, texture) anchors the eye.
Rule of thirds, golden ratio, and purposeful breaking of rules
Rule of thirds and the golden ratio help place elements harmoniously—but many outstanding photographs break those rules intentionally. Know the rules well enough to break them on purpose: a centered horizon can feel meditative; extreme off-centering can create tension.
Lighting: natural, artificial, and chiaroscuro
Lighting is mood. Soft morning light whispers; hard noon sun shouts; controlled studio light sculpts. Chiaroscuro—the dramatic interplay of light and shadow—can make a photograph feel painterly and cinematic. Try photographing the same subject under three different light types to understand the emotional shifts.
Using shadows as a compositional tool
Shadows are not absence; they are shape and texture. They can create leading lines, reveal patterns and hide information—inviting the viewer to complete the story. Treat shadow like a second subject.
Camera settings & image-making choices
Aperture controls depth of field (what’s sharp versus dreamy). Shutter speed freezes action or introduces motion streaks. ISO is your sensitivity ally—raise it for low light but manage noise. These choices are not technical chores; they are expressive levers.
Aperture, shutter speed, ISO — decisions that shape mood
Every technical decision is also an aesthetic one. A low ISO and long exposure can yield ethereal landscapes that feel timeless; a high shutter speed can freeze a fragile gesture, arresting a moment like a freeze-frame in memory.
Post-processing and the language of editing
Editing is where craft meets taste. Subtle contrast changes, dodging and burning, local adjustments and color grading can turn a good capture into a finished artwork. Keep a light hand—editing should enhance intention, not mask indecision. Save layered files and keep originals; intentional history matters for prints and provenance.
Black & white vs color: tonal control and texture
Choosing black & white focuses the viewer on form and texture. Color introduces another vocabulary: hue, saturation and color contrast. Which serves your concept? A desaturated palette can feel nostalgic; vibrant color can electrify emotions.
Conceptual Practice: From Idea to Image
Concepts give a photograph purpose. Before you click, ask: what am I trying to say? A clear concept informs every technical choice and makes a series cohesive.
Building a concept: mood boards, sketches, and research
Create mood boards from painters, films, textures or words. Sketch compositions roughly. Research cultural references. A strong concept helps avoid random shots and gives viewers an anchor for interpretation.
Series work vs single-image statements
Single images can be powerful—a bolt of lightning. Series, however, allow depth, narrative and development. Many fine art photographers work in series to explore a theme from multiple angles, building a body of work that galleries and collectors find compelling.
Sources of Inspiration
Inspiration is everywhere: classical paintings, film stills, dreams, news, architecture and the small dramas of daily life. Keep a journal or phone folder of images, phrases and textures that catch you—these become seeds for later projects.
Fine art, painters, movies, music and everyday life
When you borrow—from a painting’s palette, a movie’s staging, or a song’s mood—translate the idea through your photographic voice. Don’t copy; interpret. How would Edward Hopper’s loneliness look through your lens today?
Printing, Presentation & the Object-ness of Photographs
A photograph becomes a physical object when printed. Paper choice, ink quality, size, framing and presentation change how the work reads in a gallery or a home. A glossy small print feels different from a large, textured matte on rag paper. Think of printing like producing a book: choices create meaning.
Paper, inks, finishes and why they matter
Fine art papers (cotton rag, baryta, textured matte) affect tone, contrast and longevity. Archival pigment inks ensure stability. A satin finish might enhance skin tones; a matte finish can emphasize texture. Test small prints before committing to large editions.
Framing, mounting and exhibition tips
Simple, clean framing often best serves fine art photography. White or off-white mats give breathing room; a shadow gap can add presence. When showing in galleries, consider lighting angles and sequencing—how one image leads to the next.
Portfolio, Exhibitions & Selling Your Work
Turn your creative practice into a career by curating a well-thought portfolio, approaching galleries, and using online platforms. Selling fine art photography is about storytelling as much as pixels.
Curating a cohesive portfolio
Less is more. A tight series of 10–15 images that share tone, technique and concept will always beat a sprawling, unfocused collection. Sequence matters—open strong, end memorably. Include an artist statement that explains (briefly) your idea without over-explaining.
Pricing, editions, galleries and online platforms
Decide on limited editions (for example, 1/25) to create scarcity. Price based on size, edition number, materials and your market position. Sell prints through your site, online marketplaces, and local galleries. Build relationships with collectors and curators—email updates and studio visits go far.
Ethics, Copyright & Model Releases
Respecting subjects, locations and intellectual property is crucial. Get model releases for identifiable people when you intend to sell or exhibit. Understand copyright: as the creator, you own your images but register them if you plan legal enforcement. Be mindful when referencing other artists—credit and transform, don’t plagiarize.
Gear Guide: What You Really Need
Gear is a means, not an end. You don’t need the latest camera to make meaningful work, but the right tool for your concept helps. A sturdy tripod, a lens that flatters your vision, and good quality lights or reflectors are often more valuable than megapixels.
Cameras, lenses, and accessories that serve the idea
For portrait-style fine art, a fast prime (50mm, 85mm) helps with isolation. For landscapes, a wide, sharp lens and tripod matter. Medium format or high-resolution cameras benefit large prints. Invest in calibration targets, color profiles and archival storage.
Practical Exercises & Assignments to Improve Fast
Want rapid progress? Try these exercises:
- Shoot the same subject in three lighting conditions.
- Make a five-image series on a single theme (loss, longing, joy).
- Convert a favorite color image to black & white and evaluate tonal differences.
- Limit yourself to one lens for a week.
Case Studies: Examples and Short Analyses
Study photographers you admire and break down one image: composition, lighting, editing—what makes it successful? For example, look at Sally Mann’s intimate landscapes and Gregory Crewdson’s cinematic tableaux. Ask: what decisions created that mood?
Conclusion
Fine Art Photography is equal parts curiosity, discipline and taste. It asks you to translate thought and feeling into shape, light and print. Start with an idea, choose techniques that amplify it, and be relentless about editing and presentation. Technique without concept is decoration; concept without craft can feel unfinished. Combine both, and you’ll make work that lingers.
FAQs
- Q1 — What gear do I need to start with fine art photography?
- Start with what you have. A camera that lets you control aperture and shutter speed, one versatile lens, and a tripod are enough to begin. As you refine your vision, invest in lenses and printing quality.
- Q2 — Should I shoot in color or black & white for fine art?
- Both have strengths. Black & white emphasizes form and texture; color introduces emotional palette. Let your concept decide.
- Q3 — How do I develop a strong artist statement?
- Keep it concise (3–5 sentences). Say what you are exploring, why it matters to you, and how you make the work. Avoid over-explaining; leave room for the viewer.
- Q4 — How many images should be in a portfolio?
- Quality over quantity: 10–20 strong, cohesive images are ideal. If you have multiple series, present each as its own 6–12 image chapter.
- Q5 — How can I price my prints as a beginner?
- Research similar artists and consider materials, edition size and your time. Start modestly—small editions priced fairly—and increase as you gain exhibition credit and demand.


