Balancing exposure is one of those photography skills that separate beginners from confident shooters. If you’ve ever snapped a picture only to find that the sky is washed out or your subject looks like a shadowy figure, you’ve run into an exposure imbalance. Today, in photography tip 74, we’ll dive deep into how to balance exposure across elements in your frame so your photos look polished, professional, and intentional.
Why Balancing Exposure Matters in Photography
Photography is literally painting with light. If the exposure isn’t balanced, you’ll either lose details in bright areas or bury important subjects in the shadows. Getting it right means every element in your photo has the chance to shine.
Understanding Exposure in Simple Terms
Think of exposure like seasoning in cooking. Too much salt (light) and it ruins the meal; too little and it’s bland. Balanced exposure is finding the “just right” point where your photo looks natural and detailed.
The Role of Light and Shadows
Light and shadow are like yin and yang. Together they create depth, emotion, and drama. Balancing them is essential so your highlights don’t scream and your shadows don’t whisper into silence.
Core Elements That Affect Exposure
Aperture and Its Impact
Aperture controls how wide the lens opens. A large aperture (f/1.8) lets in more light but reduces depth of field, while a smaller aperture (f/16) restricts light but sharpens the scene.
Shutter Speed Explained
Shutter speed is how long your sensor is exposed to light. Fast shutter speeds freeze motion, while slower ones capture more light but risk blur.
ISO and Noise Control
ISO measures sensitivity to light. Higher ISO helps in dark conditions but adds noise. Balancing ISO with aperture and shutter speed is key to clean shots.
Exposure Triangle: The Key to Balance
How the Three Settings Interact
The exposure triangle (aperture, shutter speed, ISO) works like a three-legged stool. If one leg is off, the whole setup wobbles. Understanding this interaction is the foundation of exposure balance.
Practical Examples of Exposure Balance
- Bright sunny day? Lower ISO, faster shutter speed, narrower aperture.
- Low-light room? Wider aperture, slower shutter, higher ISO.
Common Problems When Exposure is Off
Overexposed Highlights
That bright white sky in your photo? That’s overexposure—where light areas lose detail completely.
Underexposed Shadows
If your subject’s face is hidden in darkness, your shadows are underexposed.
Loss of Detail in Midtones
Sometimes it’s not just the extremes—midtones can look flat if balance isn’t managed.
Tools to Help Balance Exposure
Using Histograms Effectively
Histograms show you how light is distributed in your image. A balanced histogram means no detail is “clipped” off the edges.
Light Meters and Camera Modes
Modern cameras come with built-in light meters. Learning to trust (but not blindly rely on) them helps a ton.
Spot vs. Matrix Metering
Spot metering focuses on one area, while matrix metering considers the whole frame. Choose based on your subject.
Practical Tips to Achieve Balanced Exposure
Bracketing Your Shots
Take multiple shots at different exposures and combine them later (HDR). Perfect for tricky lighting situations.
Shooting in RAW for Flexibility
RAW files hold more data than JPEGs, giving you more room to fix exposure issues during editing.
Using Neutral Density (ND) Filters
ND filters reduce light without affecting color, perfect for bright conditions when you still want creative control.
Creative Uses of Exposure Balance
Balancing for Dramatic Skies
Expose for the sky without losing detail in the foreground by blending multiple shots.
Exposure in Portrait Photography
Balancing natural light with fill flash ensures the face isn’t lost to shadows.
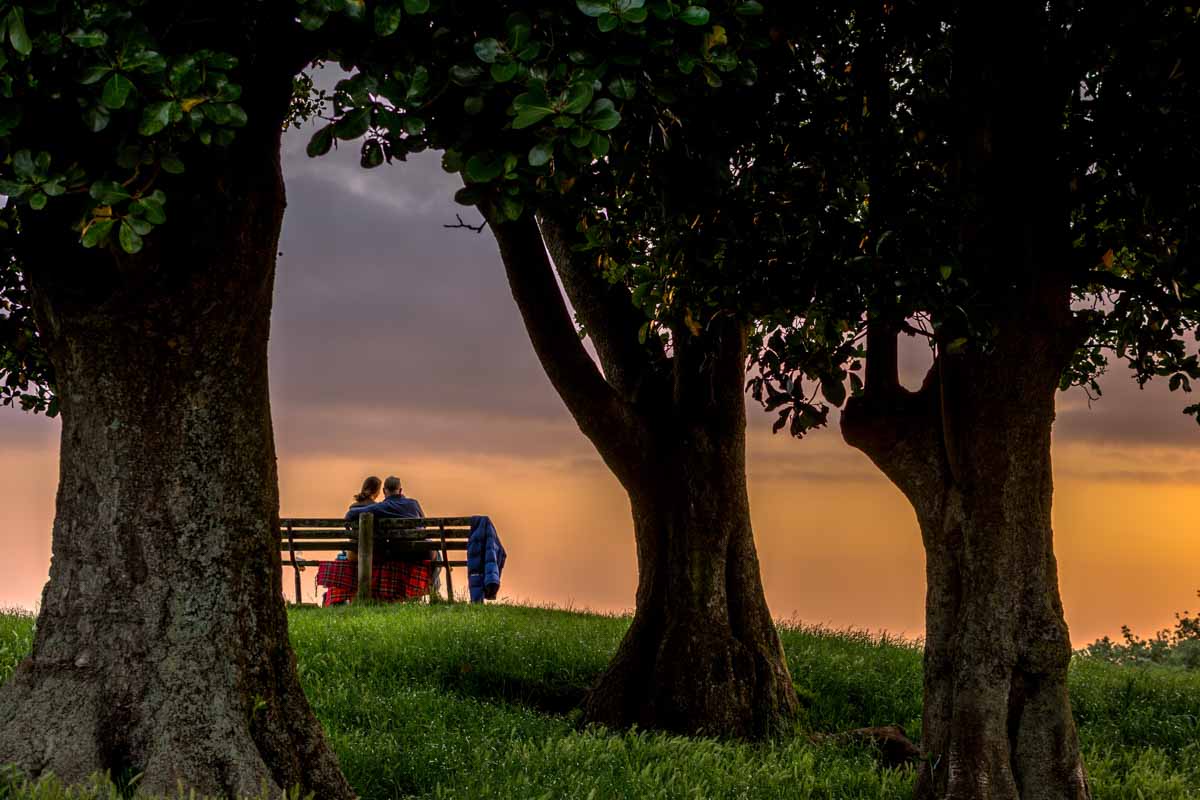
Balancing Landscapes and Foregrounds
Ever seen landscapes where the mountains are crisp but the sky glows beautifully? That’s exposure balance in action.
Post-Processing for Balanced Exposure
Adjusting Highlights and Shadows
Pull down highlights, lift shadows, and recover detail without making things look fake.
Using Curves and Levels in Editing Software
Curves and levels tools give you precise control over exposure balance.
Avoiding Over-Editing
Yes, you can fix exposure in post—but over-editing can make photos look unnatural. Less is often more.
Real-Life Scenarios and Case Studies
Sunset Photography Challenges
The sky is often brighter than the ground. Bracketing or using graduated filters helps.
Street Photography Exposure Balance
Quick-changing light conditions require quick settings—auto ISO can be your friend.
Indoor Low-Light Situations
Balancing artificial light sources with camera settings avoids yellow or grainy photos.
Conclusion
Balancing exposure across elements isn’t just a technical skill—it’s an artistic choice. With practice, you’ll learn when to follow the rules and when to bend them. So, the next time you pick up your camera, remember photography tip 74: balance exposure across your frame for images that truly capture the moment.
FAQs
- Q1: What’s the fastest way to check if my photo’s exposure is balanced?Check your histogram—it’s faster than relying on your screen’s brightness.
- Q2: Should I always shoot in manual mode for exposure balance?Not always. Aperture or shutter priority modes can be helpful when you need speed.
- Q3: Is HDR the same as balancing exposure?HDR is a method to balance extreme exposure differences, but balance can also be achieved in-camera.
- Q4: Can smartphones handle exposure balance well?Yes! Most modern smartphones have exposure controls and HDR modes.
- Q5: What’s better—fixing exposure in-camera or in post?Always aim to nail it in-camera, but RAW editing gives you a safety net.
Discover more practical guides like Photography Tip #74 on CameraTale.com – your go-to hub for photography tips. Perfect for beginners and pros alike.


